
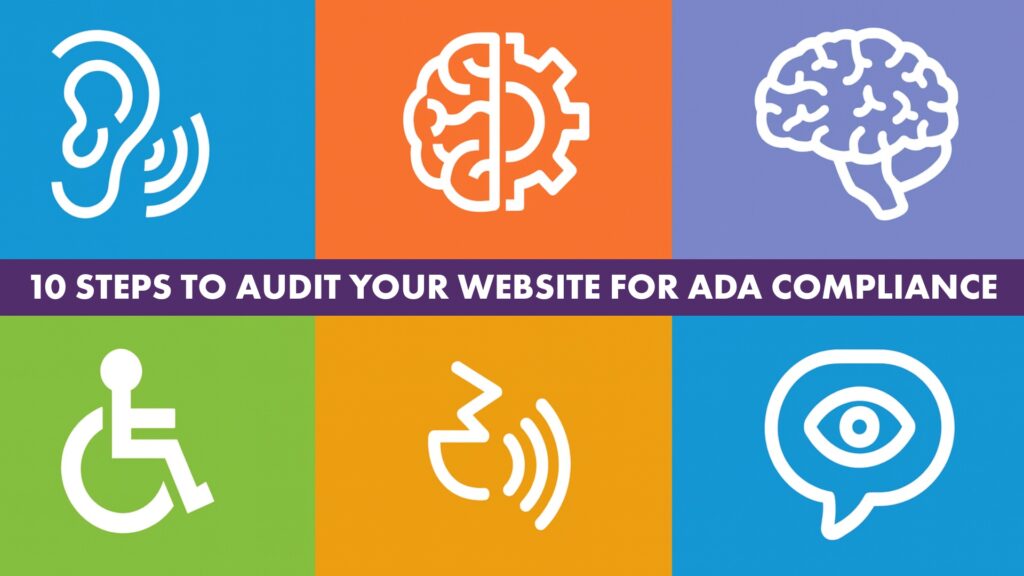
Why ADA Compliance Matters for Websites
The Americans with Disabilities Act (ADA) isn’t just about physical spaces. It also applies to websites and digital tools. That means if your website isn’t accessible, you could be excluding people with disabilities from using it — and potentially facing legal risks. More importantly, auditing your website for ADA compliance ensures that everyone, regardless of ability, can fully engage with your content, products, or services.
Step 1: Review ADA Compliance Guidelines
Before diving into an audit, it’s important to understand the standards. The Department of Justice references the Web Content Accessibility Guidelines (WCAG) as the benchmark for ADA compliance. These guidelines focus on four key principles:
- Perceivable – Content must be presented in ways users can perceive (like adding alt text to images).
- Operable – Users should be able to navigate with a keyboard, mouse, or assistive technology.
- Understandable – Information and navigation must be clear and consistent.
- Robust – Content should work across different devices and assistive technologies.
Start by familiarizing yourself with official ADA.gov web guidance.
Step 2: Use Automated Accessibility Testing Tools
Tools like Axe, WAVE, or BrowserStack can help you quickly identify common issues such as missing alt text, low color contrast, or empty form labels. These tools aren’t perfect, but they give you a strong starting point for spotting obvious ADA compliance problems.
- Run your site through an automated checker.
- Export the report so you have a record of errors and warnings.
- Prioritize high-impact fixes like navigation or readability issues.
Step 3: Check Color Contrast and Visual Design
One of the most common ADA compliance issues is poor color contrast. Text needs to stand out from its background for people with low vision or color blindness. According to WCAG, normal text should have a contrast ratio of at least 4.5:1, while large text needs a ratio of 3:1.
- Use online tools like the Contrast Checker to test your site’s colors.
- Avoid relying only on color to convey meaning (e.g., don’t use red text alone for errors).
Step 4: Test Keyboard Navigation
For many users with mobility impairments, the keyboard is their main tool for browsing. A site that can’t be navigated with the Tab and Enter keys fails ADA compliance.
When auditing your website, try this:
- Unplug your mouse and attempt to navigate your site only with your keyboard.
- Make sure you can reach every button, link, form field, and menu.
- Check that the “focus indicator” (often a box around the link) is visible.
Step 5: Add and Audit Alt Text
Screen readers rely on alt text to describe images. Missing or vague descriptions can make your site inaccessible. During your ADA compliance audit:
- Ensure every meaningful image has descriptive alt text.
- Avoid keyword stuffing — make the description useful, not just SEO-focused.
- Decorative images can use empty alt tags (alt=””) so they don’t clutter screen reader output.
Step 6: Test with Screen Readers
No ADA compliance audit is complete without real-world testing. Screen readers like NVDA (free, Windows) or VoiceOver (built into macOS/iOS) let you hear how your site is interpreted.
Ask yourself:
- Is the reading order logical?
- Do headings and landmarks provide clear navigation?
- Are forms labeled so users know what to type in each field?
Step 7: Review Forms and Error Messages
Forms are a common accessibility barrier. Every field should have a label, instructions should be clear, and error messages must be easy to understand.
- Check that each input field is labeled properly.
- Make sure errors are announced (e.g., “Password field required”).
- Provide suggestions when possible (“Use at least 8 characters”).
Step 8: Include Captions and Transcripts for Media
Videos and audio content need text alternatives to meet ADA compliance. This not only helps people who are deaf or hard of hearing but also improves SEO.
- Add captions to all video content.
- Provide transcripts for podcasts and webinars.
- Avoid auto-generated captions without review, since they can be inaccurate.
Step 9: Document and Prioritize Fixes
An audit isn’t just about spotting issues — it’s about creating a roadmap. Document what you found, group issues by severity, and set realistic timelines for fixing them.
- Start with critical blockers like navigation or media alternatives.
- Then address enhancements like improved design or added ARIA labels.
- Keep track of changes so you can show progress toward ADA compliance.
Step 10: Schedule Regular Accessibility Audits
Accessibility isn’t a one-time project. As your website grows, new features, content, or design updates can create fresh barriers. To maintain ADA compliance:
- Audit your site at least once a year (more often for high-traffic sites).
- Train your team to build with accessibility in mind.
- Encourage feedback from real users with disabilities.
Final Thoughts
Auditing your website for ADA compliance may feel overwhelming, but taking it step-by-step makes it manageable. From testing color contrast to reviewing forms and adding captions, every improvement makes your website more inclusive and user-friendly. Accessibility benefits everyone — and it shows your commitment to treating all customers with respect.
If you’d like help auditing your site or making accessibility improvements, reach out to Equal Accessibility. We’d be happy to guide you through the process.